Inputs are the sources from which all content is imported or captured into Composer. Inputs can, for example, be static images, video clips, live video feeds (via SDI, NDI, SRT or RTMP), Web Pages or virtual inputs like a audio channel strip.
There is no limitation on how many inputs you can add as long as your workstation/server has enough CPU & GPU resources to manage the load. It might be valuable to know that capture sources often require more resources than still images and images. UHD sources require more resources than SD sources.
Inputs can be reused in any number of scenes. If an input is a video clip or a live source, all instances of that input will be played back in sync.
Available input types

Input types are categorised into eight different categories:
AI - AI-Related inputs
Device capture - Video or audio capture devices
Dynamic content inputs - Web page content
Interactive - Interactive buttons.
Media file inputs - Audio files, video clips and still images
Network inputs - Network video sources, NDI or RTMP input
Text and Shapes- Create a shape or a text input
Virtual - Virtual inputs that only exist inside Composer
As Composer is a plug-in-based system, you might find additional categories and input types. The components described in this guide are the standard components.
Thumbnail preview
Scenes and some input types include a preview feature that displays a thumbnail. For items supporting preview, the preview image will be displayed at the top of the Inputs & Scenes tab:
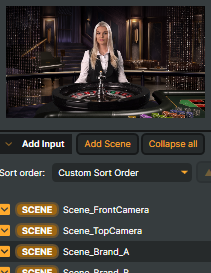
The thumbnail is updated when selecting the input or scene.
Saving the preview thumbnail
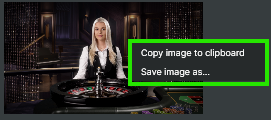
For inputs that display a preview image, you can save or copy the preview by right-clicking on the preview thumbnail. A context menu will appear with the following options:
- Copy image to clipboard - Copies the current preview image to your system clipboard. This allows you to quickly paste the image into other applications such as image editors, documents, or messaging apps.
- Save image as… - Opens a file dialog that lets you save the preview image to a location on your computer. Use this option when you need to keep a permanent copy of the preview image as a file.
Working with inputs
To add an input, use the Add Input dropdown. To add a scene, use the Add Scene button.
The Collapse all button will collapse all expanded inputs.
To change the title name of an input, double-click on the title name of the input.
Use the yellow up/down arrow to collapse/expand the input.
To rearrange the order of the inputs, use drag-and-drop (left mouse button) or the keyboard keys CTRL + Up/Down arrow to move the selected input.
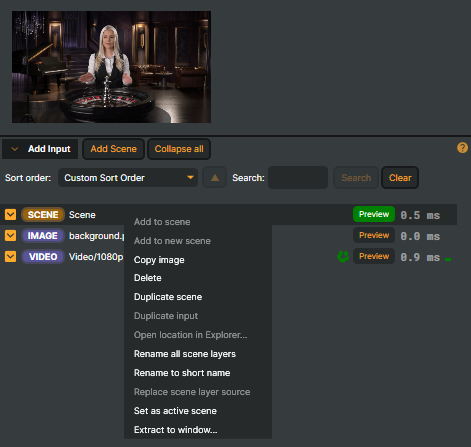
Right-click on the input to access actions.
Add to scene - To use an input in a scene, select the scene (in the scene layer view) and either right-click on the input and select "Add to scene" or drag the item to the scene layer area.
Add to new scene - Add input to a new scene. The new scene will have the same resolution as the selected input.
Copy image - To copy the thumbnail image to the clipboard, right-click on the image and select "Copy image".
Delete - To delete an item, select the item's name (first row) and press the DELETE key or right-click and select "Delete".
Duplicate scene - can only be used on a Scene input. It will duplicate the Scene containing all Scene layers, Operators and Targets.
Duplicate input - Create a duplicate of the selected input.
Open location in Explorer… will open a Windows Explorer window to the location of the media file on the computer.
Rename all scene layers - If you have used an input in one or more scene layers and want to rename all those instances to the same name as the input, you can use the "Rename all scene layers" function in the right-click menu.
Rename to short name - If the input name is an absolute URI, selecting this option will truncate the input name to just the file name.
Replace scene layer source - If a scene layer is active, selecting this option will change the source of the scene layer to the selected input.
Set as active scene - Set the selected scene as the active scene (if more than one scene is used).'
Extract to window - Moves the selected input into its own separate, floating window outside the main Composer interface.
 💡 Tip:This is useful when you want persistent access to an input’s settings or controls while working elsewhere in Composer, such as editing scenes, layers, operators, or targets. The extracted window remains visible and usable independently of the main UI, improving workflow efficiency on multi-monitor setups.
The input continues to function normally and remains part of the project — only its user interface is detached from the main window.
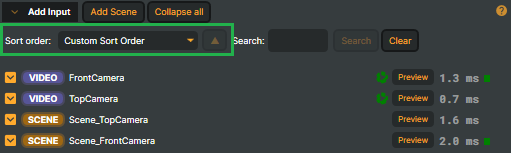
Sort order
You can sort and group the input list in various ways, depending on your preference.
- Name (A-Z)
- Custom Sort Order
- Icon text
- Group by Category
- Tag
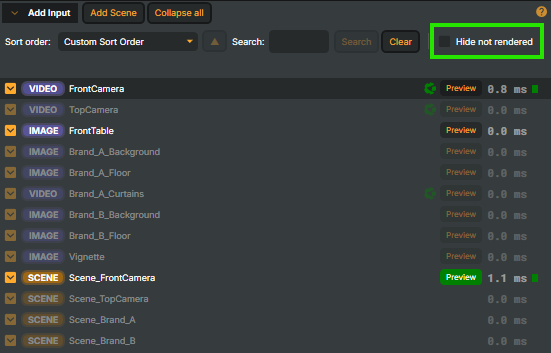
Hiding inputs not being rendered
If the project uses Render Tuning and contains many inputs, you can hide all inputs that are not being rendered. Activating this option can make it easier to navigate the input list and also improve UI performance.
Search
The Search is a tool for filtering inputs. The Search will filter from two different sources: the name of the input or TAGS, specified for each input. At least 3 characters must be used.
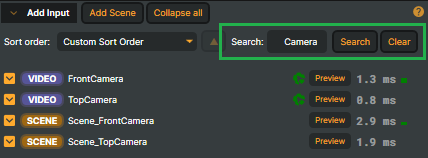
The name of the input - Any input name that contains a word in the search field will be filtered. All other inputs will be hidden.
TAGS - For every input, it is possible to specify any custom word that will be used for the Search.
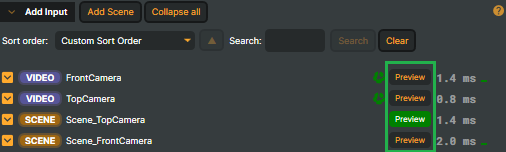
Preview button
The preview button indicates which input or scene is displayed in the Scene Preview window. By clicking an input’s preview button, the Scene Preview window will display the input in full screen. By default, the active scene is displayed.
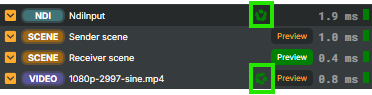
Running state indicators
All inputs listed in Composer can have three types of status indicator icons:
- Error icon - a red circle indicating that the input is in an error state.
- Warning icon - a yellow triangle indicating that there has been a warning logged. Hover over the icon to see the latest warning message and date/time of the warning.
- Running icon - a green spinning icon indicating that the input is running/capturing input.
Examples:

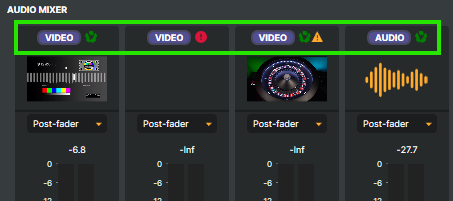
 The same icons are found on the audio strips in the audio mixer:
Customized inputs
As Composer is a plug-in-based architecture, custom inputs can be designed and developed (by RealSprint). Customized inputs can include different capture cards, IP-based video feeds, etc.
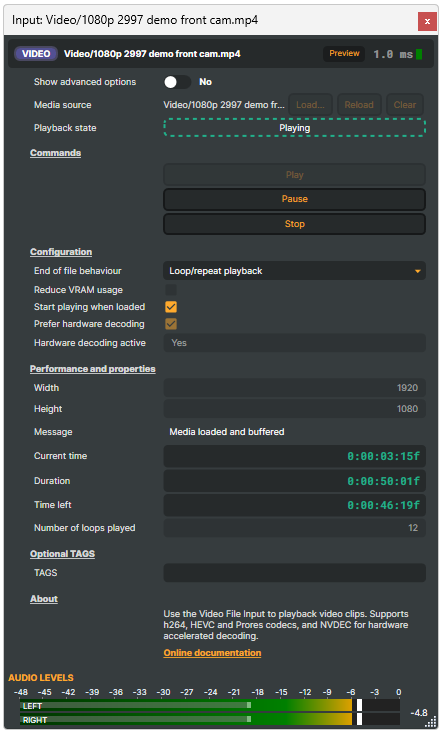
Render Options
All inputs have render options, meaning you can set how the input should be rendered this