Take full control of your live video production with ease — Composer isn't just powerful, it's also remotely controllable. Whether you're switching scenes, launching visual effects, managing media layers, or triggering complex workflows, you can control it all at the push of a button using Companion, a free and open-source software.
With a Stream Deck connected to Companion, you gain a tactile, customizable control surface that puts Composer’s most powerful features at your fingertips. If you prefer a more mobile option, Companion also works seamlessly on devices such as smartphones and tablets — giving you the flexibility to operate your setup from anywhere using the Stream Deck Emulator.
Stream Deck Emulator:
In this guide, we’ll show you how to get started by connecting Companion to Composer and building your own smart control panel.
Download and Install Companion
To begin controlling Composer remotely, you first need to download and install Bitfocus Companion on the same computer where Composer is installed.
- Download it from the official website: https://bitfocus.io/companion
- For help or troubleshooting, refer to the official Companion documentation: https://user.bitfocus.io/docs/companion
Configure Composer for Remote Control
In order for Composer to receive remote commands, the Web API must be enabled.

- Start Composer
- From the menu, click Edit -> Settings
- Click on the Web API tab
- Check Enable Web API
- Set the port (default: 44433)
Hello World
To get you started with Companion and the basics of remote control, we’ll begin with a simple Text Input element that you can show and hide using Companion — powered by Connectors, Composer’s remote control system for triggering actions.
Connectors let you trigger Composer actions remotely — from switching scenes to launching animations or running complex workflows — all through simple API calls. Compact, powerful, and fully customizable.
Connectors can also be used with the Script Engine, allowing you to control your scenes with custom JavaScript logic, automate tasks, and trigger advanced actions.
- Add a Text Input:
- Add a new Text Input and place it in a Scene with a short message, eg.,
Hello World.

- Add a new Text Input and place it in a Scene with a short message, eg.,
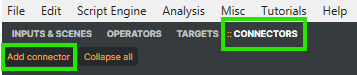
- Add Connectors:
- Click on the Connectors tab, then click the Add Connector button twice to create two new connectors.
- Click on the Connectors tab, then click the Add Connector button twice to create two new connectors.
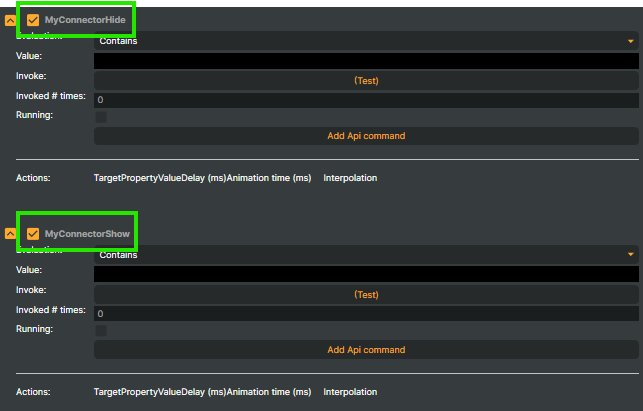
- Rename the connectors:
- Rename the two connectors to MyConnectorHide and MyConnectorShow.
- Rename the two connectors to MyConnectorHide and MyConnectorShow.
- Add API Commands:
- For each connector, click on Add API Command then:
- Set Target to Scene Text Input
- Set Property to IsVisible
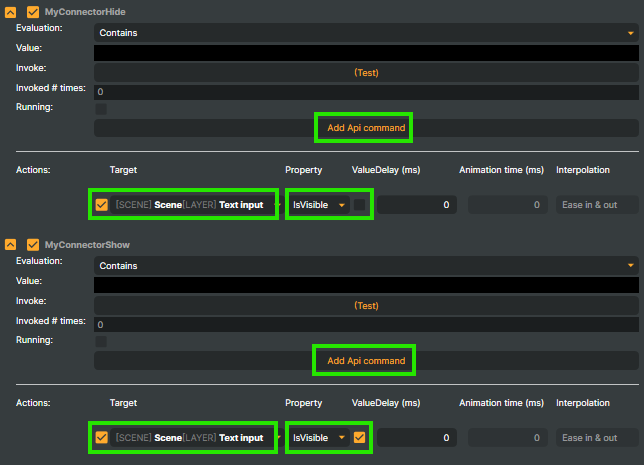
Note that IsVisible is checked in the MyConnectorShow Connector.
- For each connector, click on Add API Command then:
Configure Companion
Next, we’ll set up Bitfocus Companion to send commands to Composer.
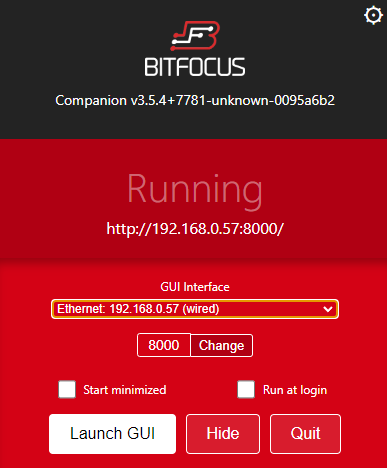
- Start Companion
- Launch the Companion application
- Select your Ethernet-connection from the GUI Interface dropdown
- Click the Launch GUI button.
- Open the Companion GUI
- The Companion GUI will now show up in your browser.
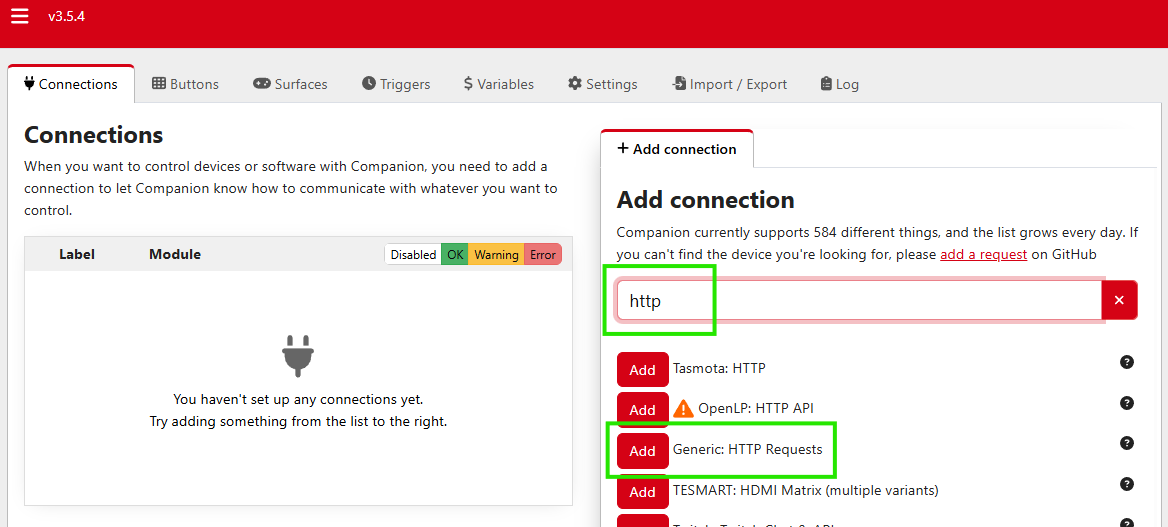
- Click on the Connections tab
- Add a Generic HTTP Connection
- In the search box, type http
- Select Generic HTTP Requests from the list, then click Add.
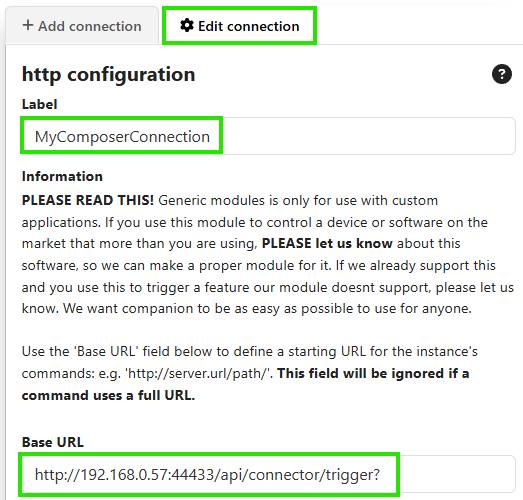
- Configure the Connection
- A new Edit Connection tab will appear.
- Give your connection a clear name (avoid using spaces, e.g., MyComposerConnection)
- In the Base URL enter the Composer Web API base path:
http://[YOURIP]:[PORT]/api/connector/trigger?
Replace [YOURIP] with your computer’s IP address and [PORT] with the port you set in Composer’s Web API settings (default is 44433). - Example:
http://192.168.0.57:44433/api/connector/trigger?
- Save the Connection
- Scroll down and click the Save button.

- Scroll down and click the Save button.
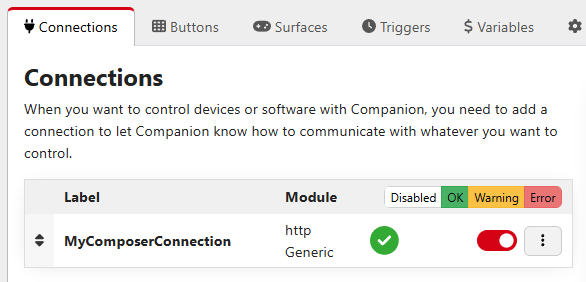
- Verify the Connection
- If everything is set up correctly, the new connection will appear in the Connections list and should show a green status, indicating it is active.
- If everything is set up correctly, the new connection will appear in the Connections list and should show a green status, indicating it is active.
Bind Commands to Buttons
Now that Companion is connected to Composer, you can assign commands to buttons on your Stream Deck interface.
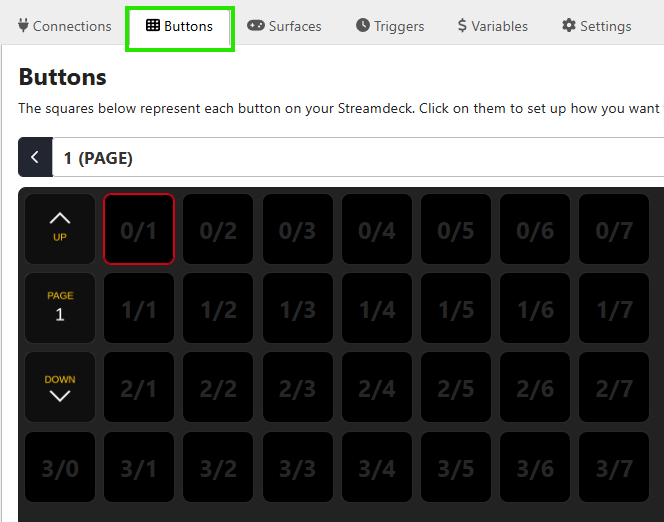
Click on the Buttons tab and you will see a Stream Deck button panel. This is where you will bind commands to your buttons and control Composer.
- Open the Buttons Panel
- Click on the Buttons tab in the Companion GUI
- You’ll see a visual representation of a Stream Deck layout.
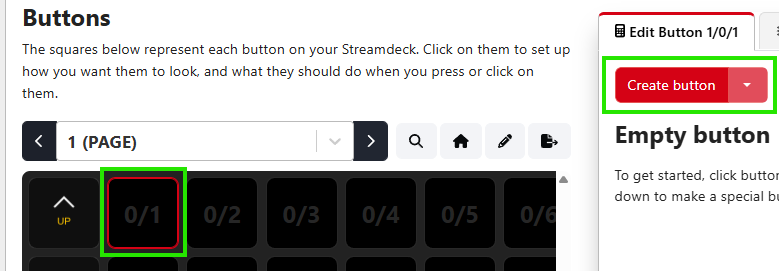
- Create a Button
- Click on any button in the panel.
- In the right panel, click Create button.
- Customize the Button
- Change the button’s text label to Hide.
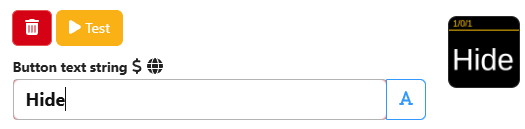
- Change the button’s text label to Hide.
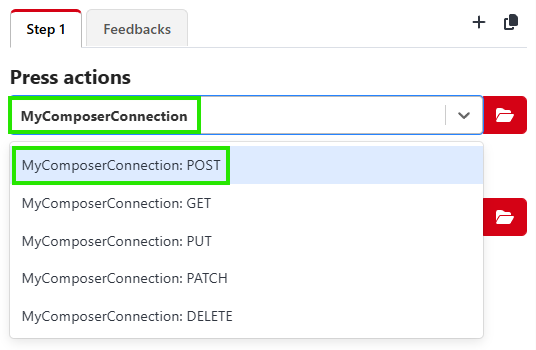
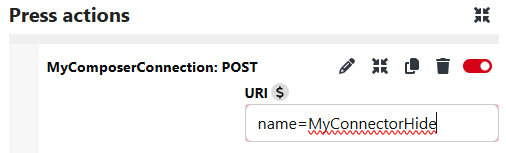
- Add a Press Action
- Scroll down to Press actions section
- In the dropdown, type the name of the connection created earlier (e.g., MyComposerConnection).
- Select the POST method.
- Bind the Button to the Connector in Composer
- In the URL field, enter
name=MyConnectorHidewhere name is the name of the Connector you created earlier.
- In the URL field, enter
- Create the Second Button for Showing the Text Input
- Follow steps 1–3 again to create another button.
- Label this one Show.
- In the Press actions section, use the same connection and POST method.
- Set the URI to:
name=MyConnectorShowto bind the second button to the second Connector in Composer.
Try it out
Once you've set up your buttons, it's time to test them out and verify that Companion is correctly sending commands to Composer.
You have a few ways to do this:
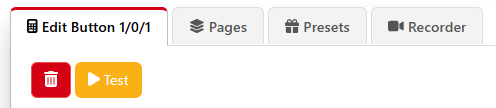
Option 1: Use the Test Button
- In the Companion GUI, select the button you want to test.
- Click the Test button to simulate a press and send the command to Composer.
Option 2: Use Keyboard Shortcut
- While the Companion GUI is open, hold the SHIFT key on your keyboard.
- Click on the desired button in the GUI to trigger its action.
Option 3: Use the Stream Deck Emulator on a Mobile Device
- Open a browser on any mobile device such as a smartphone or tablet.
- Navigate to the following address (replacing [YOURIP] with the IP of the machine running Companion):
http://[YOURIP]:8000/tablet - You’ll see a touchscreen-friendly version of your Stream Deck layout. Tap buttons to control Composer remotely.
Other types of integrations
For more information on how to integrate Composer with other types of systems, see the Integration Guide.