Color Correction/Grading LUT
The Grading LUT operator is a very powerful operator that can replace several other operators. This includes the operator color curves, vibrance, hue shift, and any operator that changes each pixel’s hue/saturation/luminance.
What is a LUT?
LUT (known as Lookup Table) is a term used to describe a predetermined array of numbers that provide a shortcut for a specific computation. In the context of color grading, a LUT transforms color input values (camera) to your desired output values (final footage).
Why use LUTs on the footage?
- Set a predetermined look for a specific visual feeling
- Increase the speed at which you can color grade
- Use it as a reference point to develop your unique style.
Creating a LUT
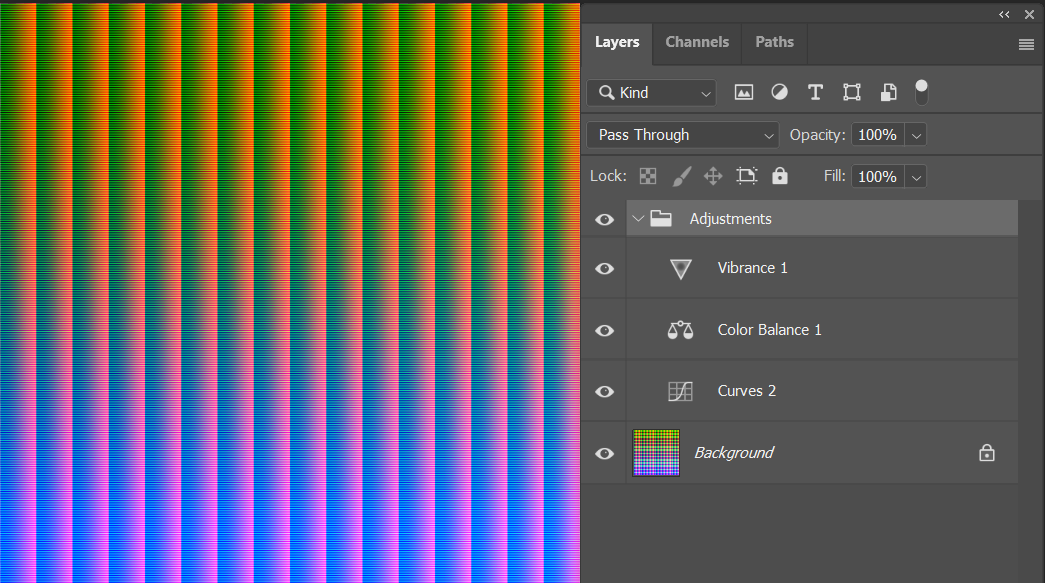
In Composer, a LUT is a 4096x4096x24-bit PNG file representing all colors available (in 8-bit color depth).
In the Media folder, you find a new/original LUT file (“Lut 4096_4096 Sample.psd”) which can be used to create your LUT:

You can use any photo editing tool to create a LUT and export it to Composer. The following chapters will explain how to do this in Adobe Photoshop 2021.
Creating a LUT in Photoshop - Step 1:
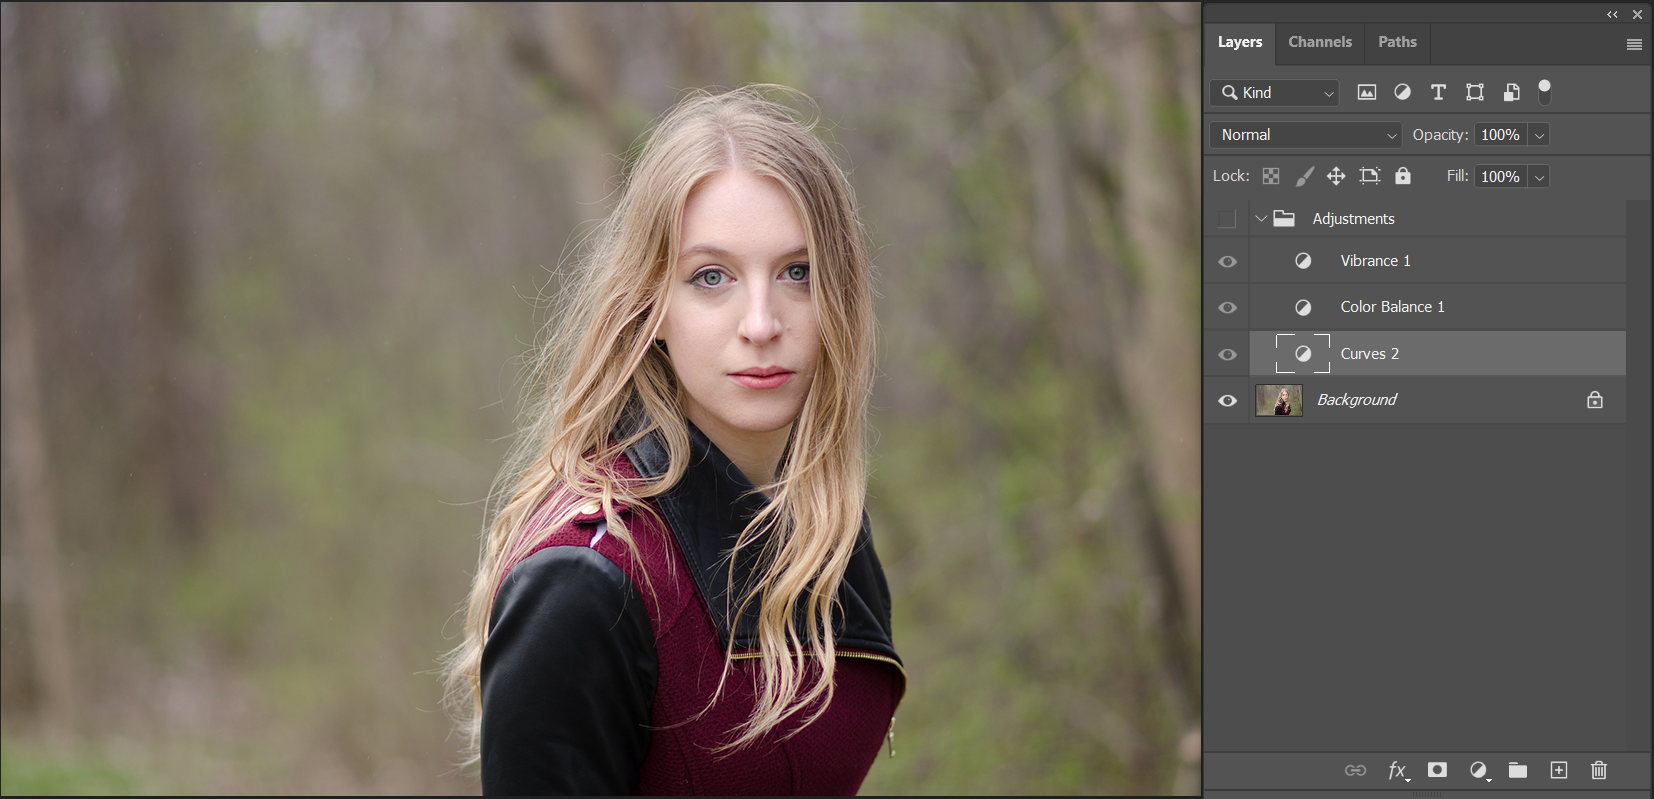
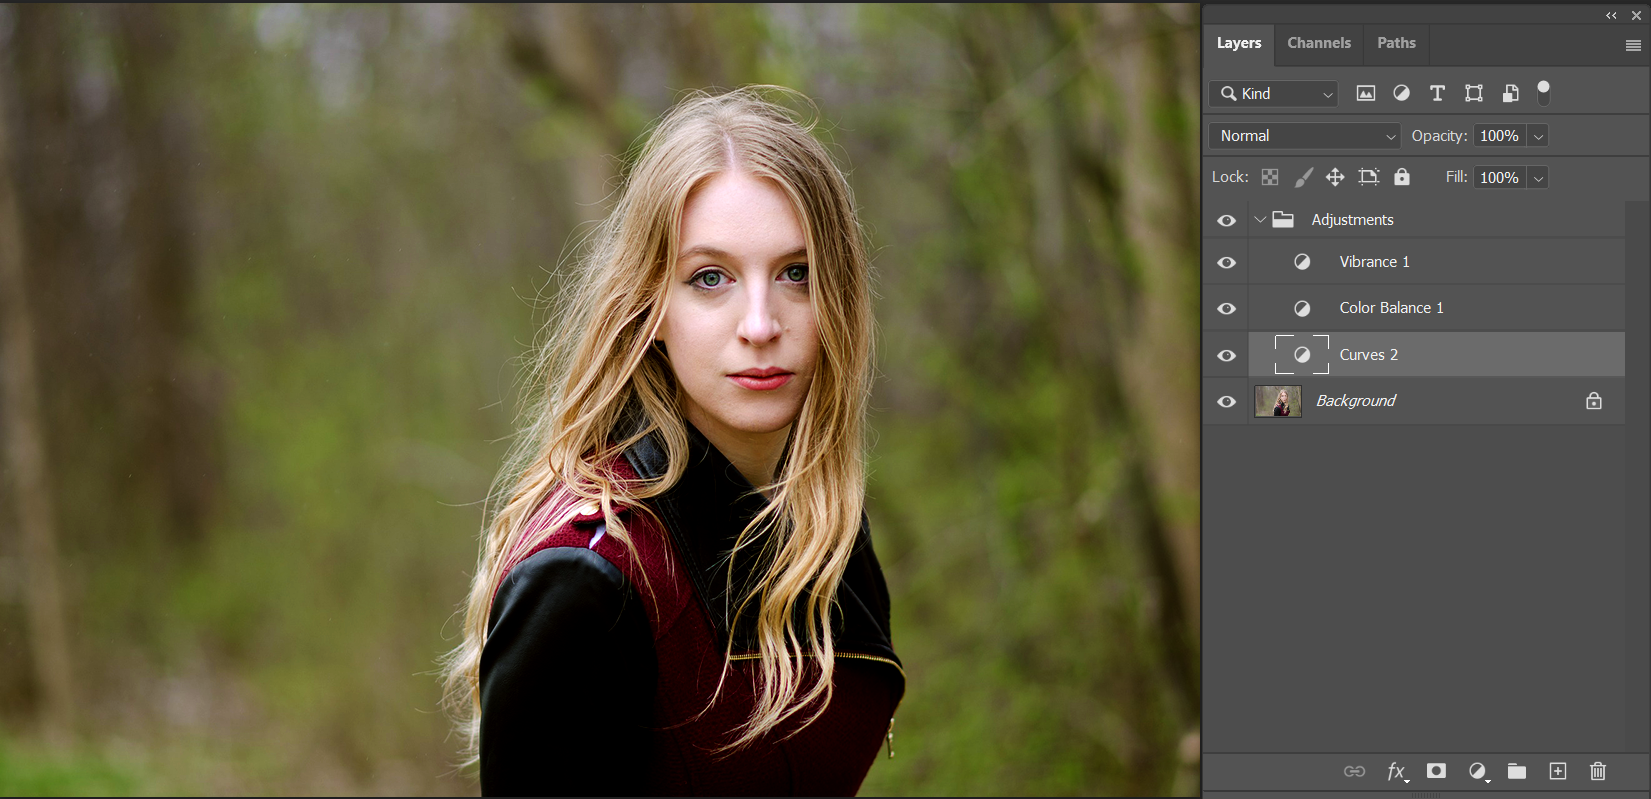
Import a reference image representing the footage you want to apply a LUT to. Use the adjustment layers in Photoshop to create the look and feel you are looking for. You can use adjustment layers such as Vibrance, Color Balance, and Curves.
By toggling between Adjustments on and off, you can easily see the difference between LUT on and LUT off.
Adjustment layers on:
Adjustment layers off:
Step 2:
Open up the Lut 4096_4096 Sample.psd file and apply the same adjustment layers as in Step 1.

Step 3:
Export the file as a 4096x4096x24 bit PNG file.
Step 4:
Add the Grading LUT Operator in Composer and load the newly created LUT .png file.
Use the Dry/Web level configuration to adjust the amount of LUT to apply.
